DIY Digitization of DIY Clothing

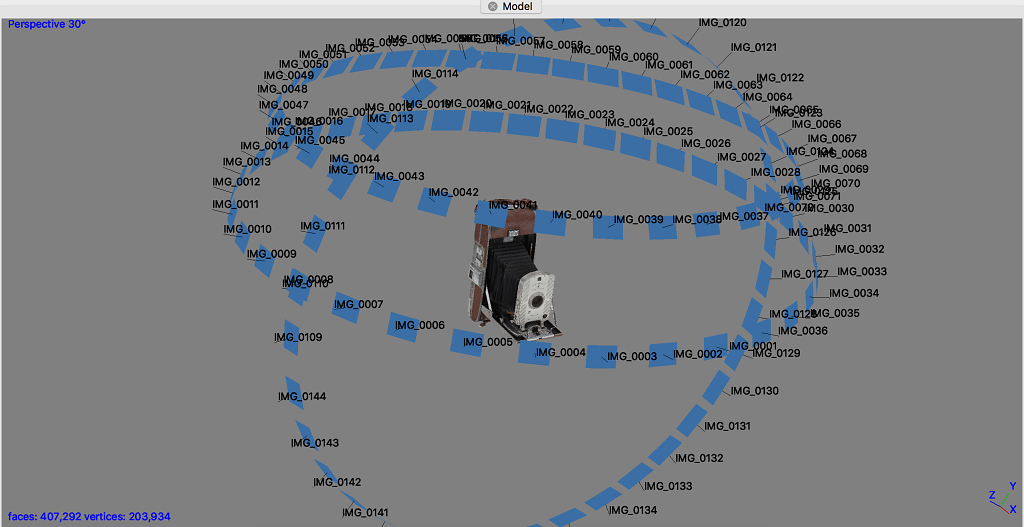
One of our unit's more engaging recent projects has involved staging, photographing, and producing 3D data from selections from the UConn Library’s Joe Snow Punk Rock Collection. In this case, our interest has been focused on pieces of clothing that represent important examples of the DIY ethos and aesthetic from the late 1970s through the late 2000s Connecticut punk and hardcore scene.
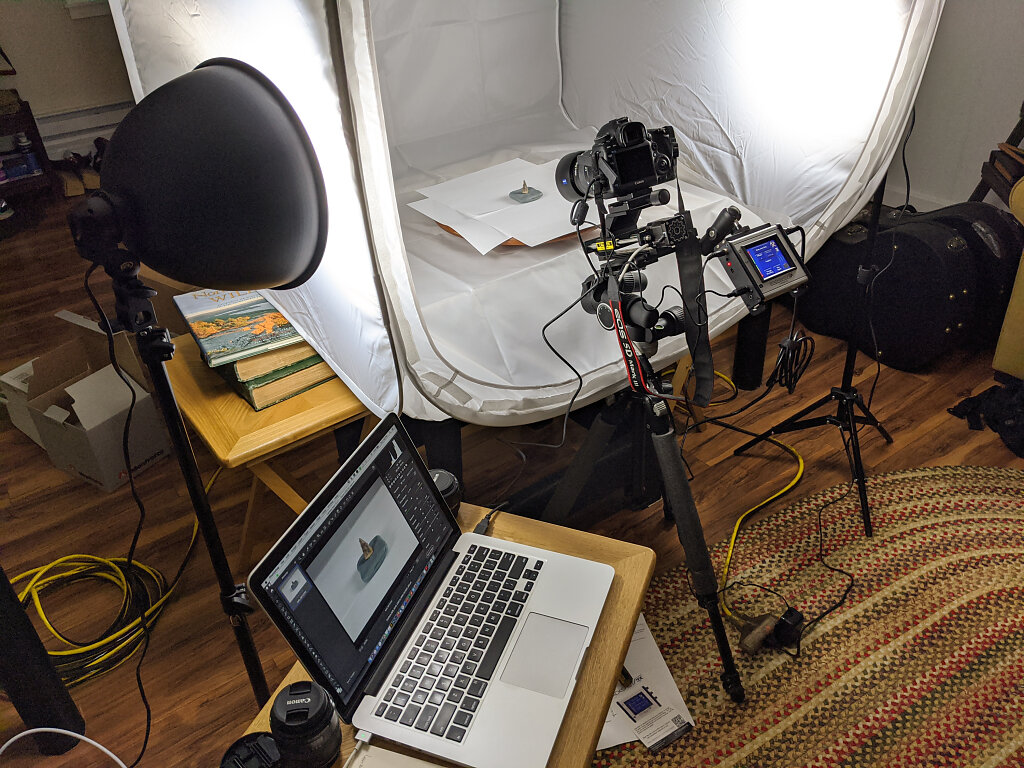
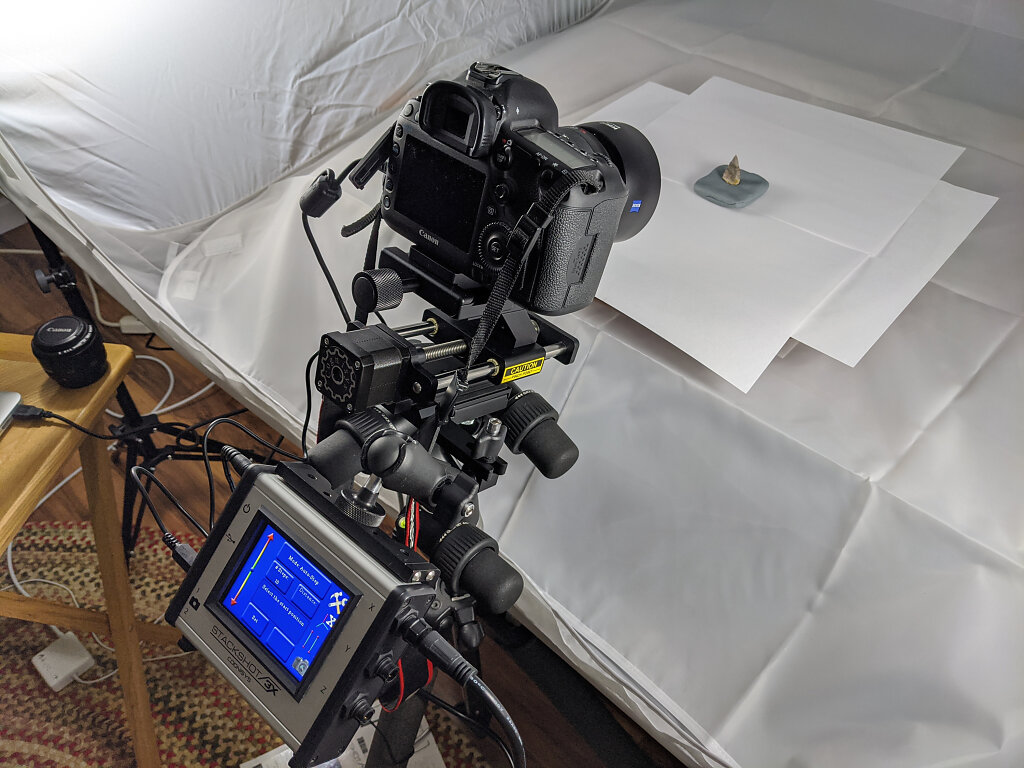
We don't often directly handle clothing in either the Conservation or Digital Imaging Labs. So, working with these original DIY garments required a fair amount of DIY staging and preparation across both shops.
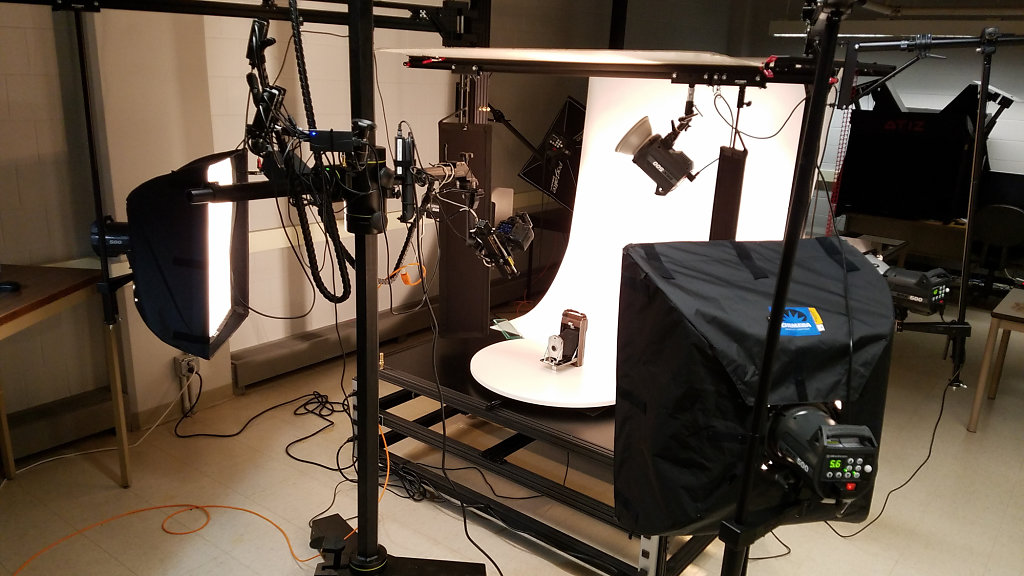
Using a combination of Ethafoam museum figure elements and custom-made, self-supporting Fosshape torsos, Conservator Natalie Granados staged these pieces in ways that facilitated both safe handling and effective photogrammetric capture in the imaging lab. For this Incas Records hoodie, we employed our automated turntable system that we originally designed and built in-house with Michael Ulsaker back in 2018.

For this jumpsuit, we did rely on a not-so-DIY Ortery turntable for automated capture. But look at all of those self-made tripping hazards!

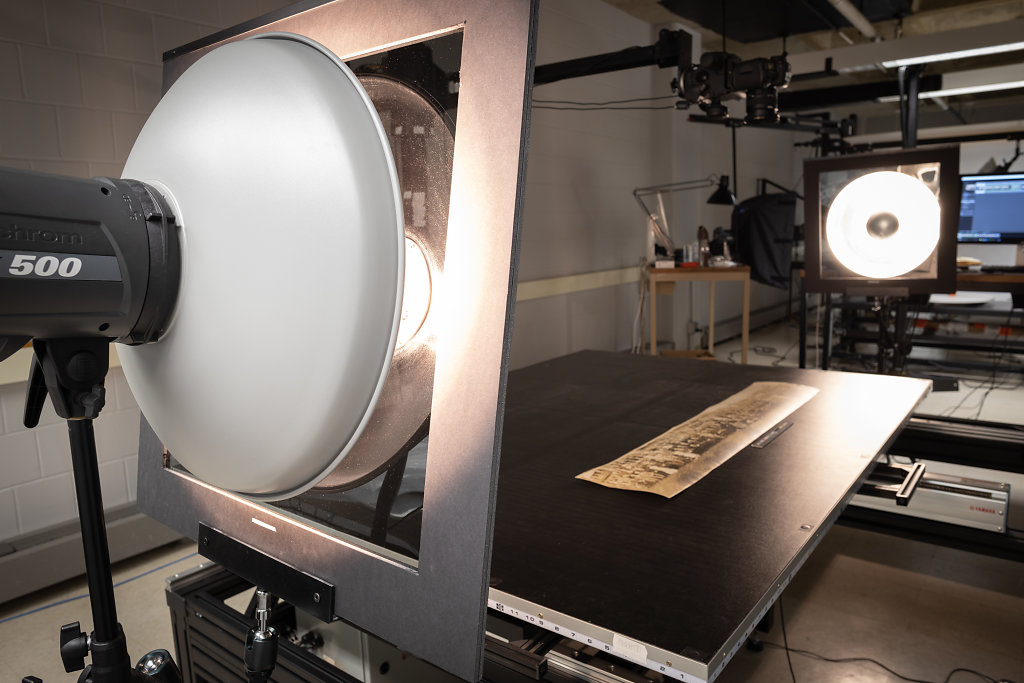
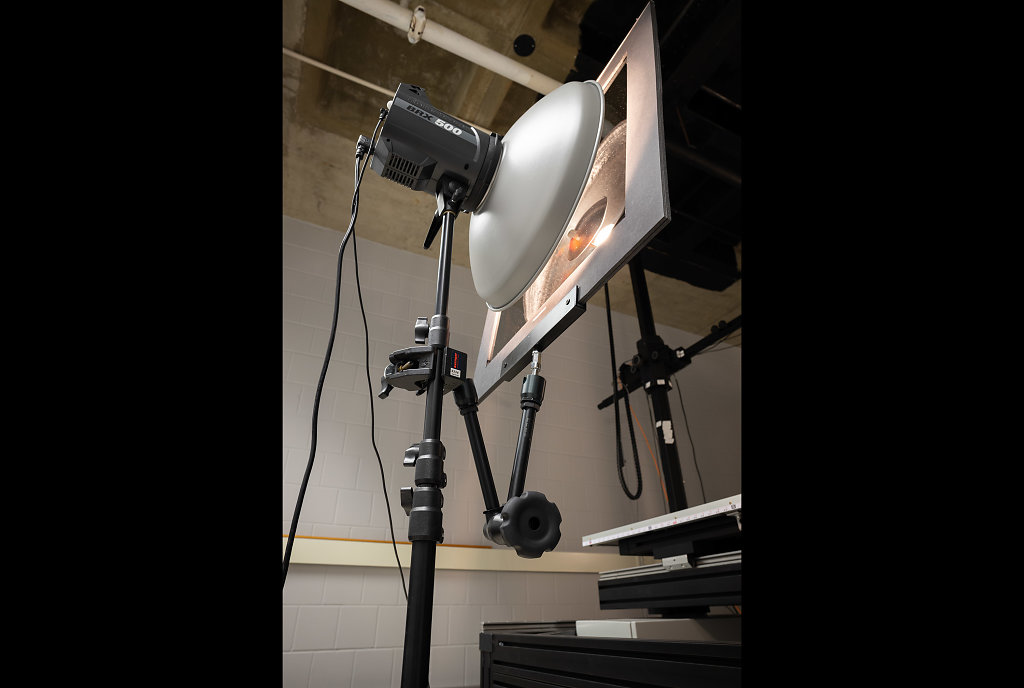
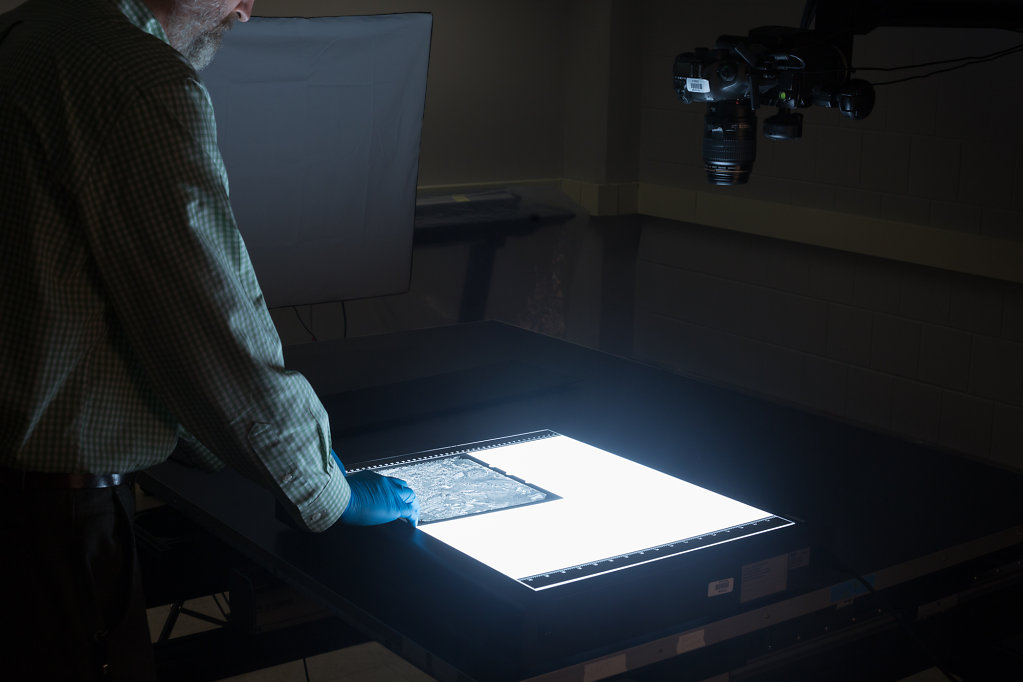
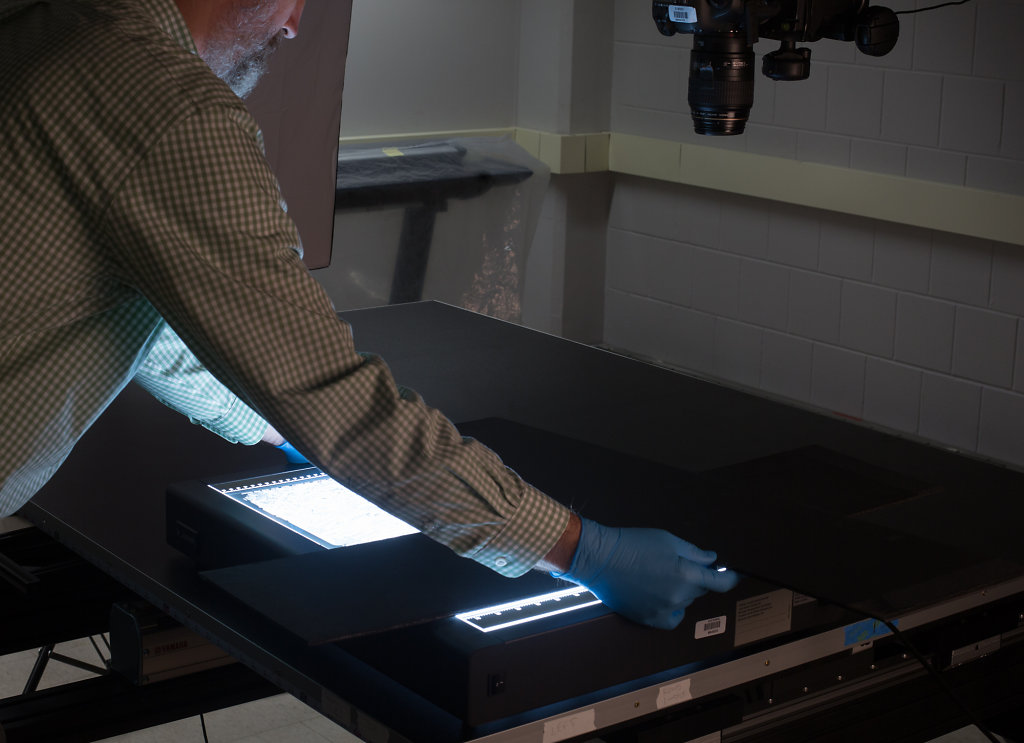
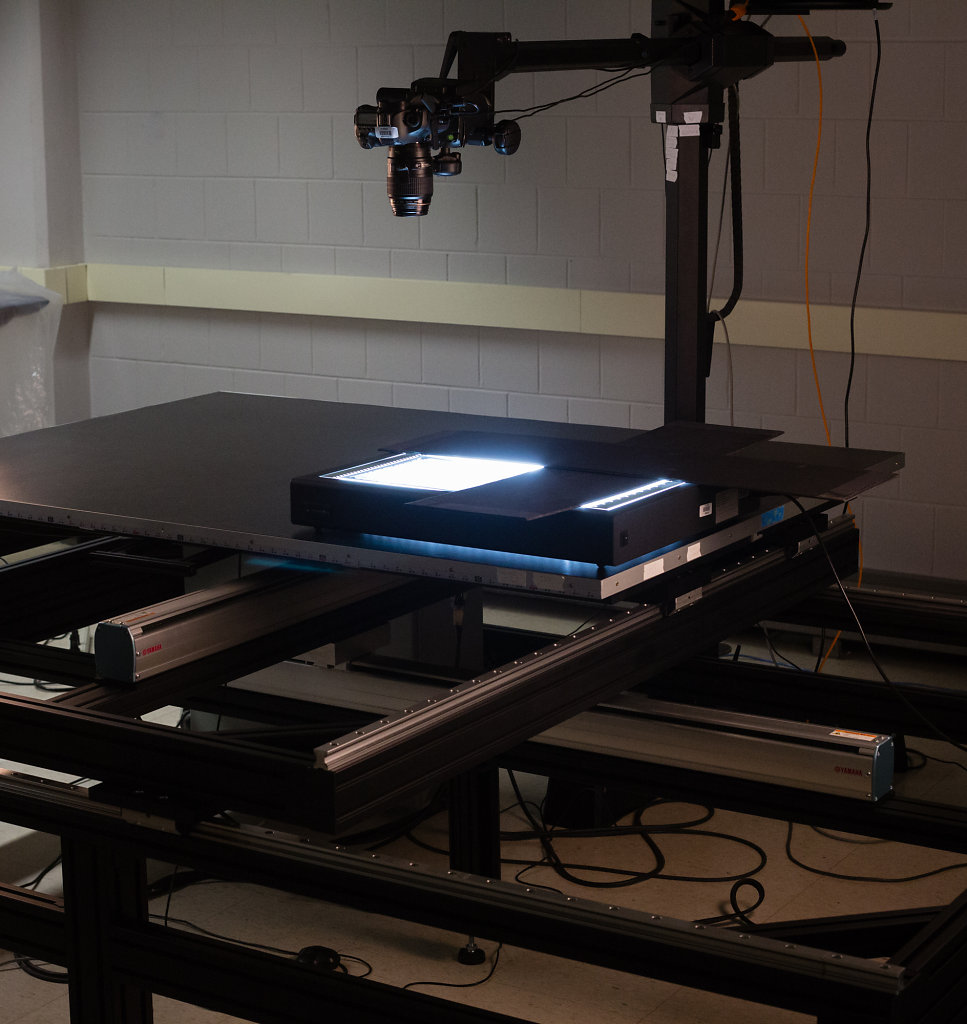
To be serious, this arrangement was easy to set up and tear down in one session, thanks in large part to our recent lab expansion and renovation. With flexible floor partitions, generous swing space, and ample pull-down and wall-mounted power sources, the renovated lab allows custom shooting arrangements to be quickly fashioned around our normal production workstations.

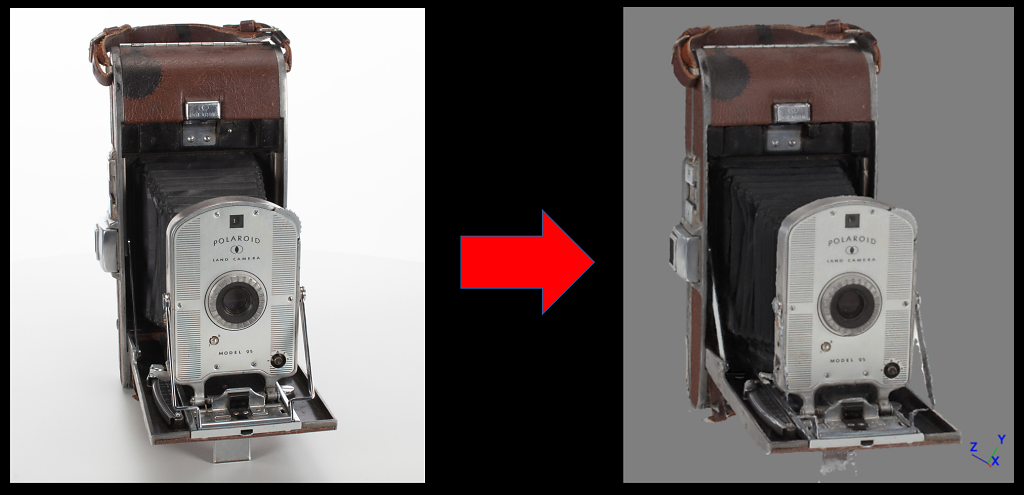
Here’s a preview of the results of this collaborative conservation and imaging work...